I am proud to the included in the newspaper article.
Showing posts with label Claire Fairweather. Show all posts
21 April 2023
01 April 2021
Whangamata Arts Collective - Easter Open Studio Trail is this weekend
I will be displaying some of my work at the Information Centre Hub on Port Road, Whangamata.
Hope you can drop in and say hello.
01 January 2020
My first attempts at Dot Painting
2020 is to be my year for mastering dot painting. However, I could not wait to give it a try so, when I had a little time between Christmas and New Year I gave it a go. To overcome my fear of getting started, I decided to do some 'experimental trials'.
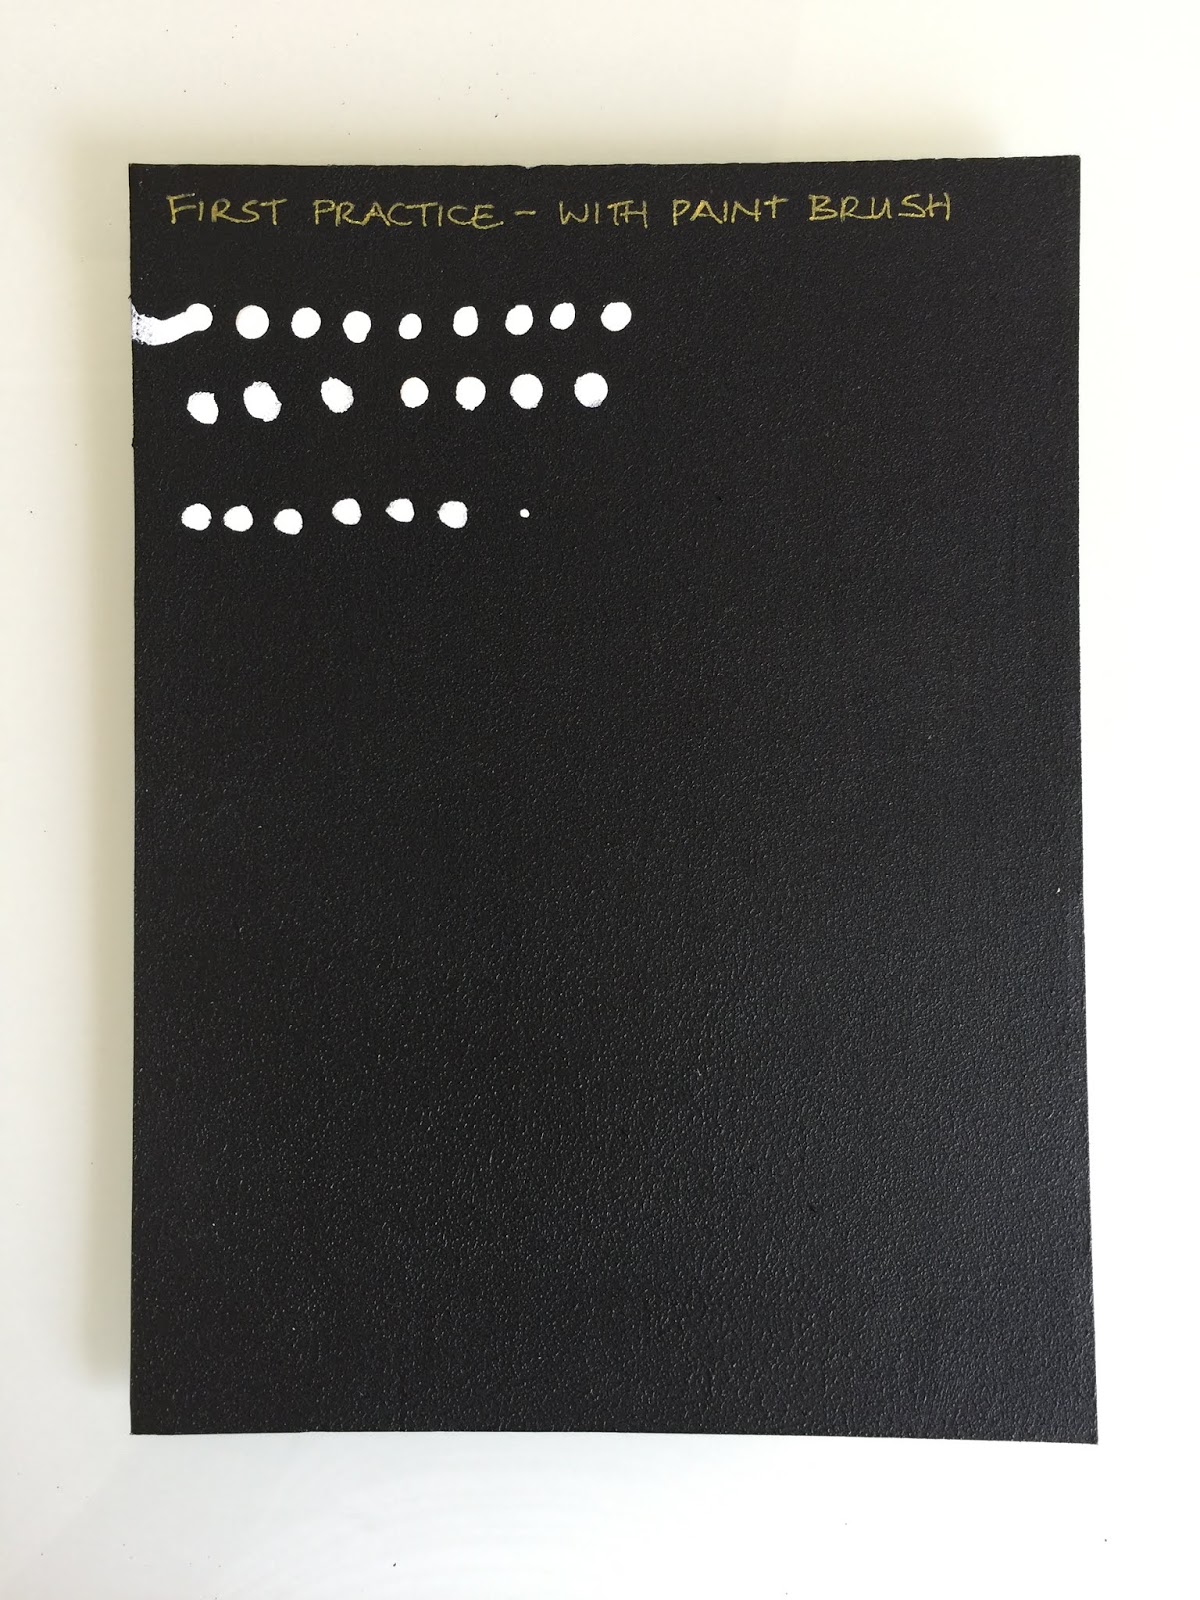
Here are my very first attempts at dot painting. Using just white, I tried using a paint brush and the dotting tools I had bought previously.
Painting the dots with a paintbrush was a complete disaster, as I had feared. Maybe it was because it was a relatively cheap brush? I had no control over the size of the dots and they definitely did not look perfectly round. Then I smudged it. Never again, I hated painting dots with a paint brush
Using the dotting tools was so different. They really suited me and I was quite pleased with my first attempt. When I did the dots, they looked nicely rounded and raised, however, now they have dried they are flat. I believe this is because I added water to get the paint to the right consistency (it might also have been too runny). From what I have read, I think I should be using Liquitex Pouring Medium, not water.
I had some small discs, which I painted black, just to practice dotting on. Not brilliant. When I get the pouring medium, I may try again on the other side for comparison.
The Liquitex Pouring Medium I had ordered arrived in the morning of New Years Eve so, by the afternoon, I was mixing it with colours and practicing placing dots with my dotting tools. I was surprised how quickly I managed to complete this mirror frame, without smudging any of the dots. There is a lot to improve on but I enjoyed creating this.
I definitely need more practice at placing the dots, both closer together and selecting the right size so the rows are staggered, which I think looks better. I also need to be more methodical when mixing the grades of colour to get a nice even transition. At least I know what I need to practice.
Looking forward to whatever I do next 😊
Here are my very first attempts at dot painting. Using just white, I tried using a paint brush and the dotting tools I had bought previously.
Painting the dots with a paintbrush was a complete disaster, as I had feared. Maybe it was because it was a relatively cheap brush? I had no control over the size of the dots and they definitely did not look perfectly round. Then I smudged it. Never again, I hated painting dots with a paint brush
Using the dotting tools was so different. They really suited me and I was quite pleased with my first attempt. When I did the dots, they looked nicely rounded and raised, however, now they have dried they are flat. I believe this is because I added water to get the paint to the right consistency (it might also have been too runny). From what I have read, I think I should be using Liquitex Pouring Medium, not water.
I had some small discs, which I painted black, just to practice dotting on. Not brilliant. When I get the pouring medium, I may try again on the other side for comparison.
The Liquitex Pouring Medium I had ordered arrived in the morning of New Years Eve so, by the afternoon, I was mixing it with colours and practicing placing dots with my dotting tools. I was surprised how quickly I managed to complete this mirror frame, without smudging any of the dots. There is a lot to improve on but I enjoyed creating this.
I definitely need more practice at placing the dots, both closer together and selecting the right size so the rows are staggered, which I think looks better. I also need to be more methodical when mixing the grades of colour to get a nice even transition. At least I know what I need to practice.
Looking forward to whatever I do next 😊
Labels:
Claire Fairweather,
dot painting
15 December 2017
Another feature in a local newspaper - The Rodney Times 12.12.2017
I was just about to throw out an old copy of the Rodney Times, when I thought I would flick through it. I was totally taken by surprise when I saw a photo of myself, demonstrating how I make my Swirl-StoNZ. It was taken at the Christmas Art Market at the Estuary Art Centre on Sunday 3 December. I had no idea the photo was being taken but it is good to see the crowd of onlookers fascinated by the process.
Labels:
art,
Christmas,
Claire Fairweather,
craft,
Estuary Arts Centre,
market,
polymer clay,
Swirl-StoNZ
27 November 2017
02 May 2016
'Polymer Journeys' - arrived in the post
The hard copy of this fabulous book arrived in the post today. It showcases the most innovative use of polymer clay over the last two years. I am so proud to be included on page 117. To order your copy, go to http://www.polymerjourneys.com/
Labels:
art,
Claire Fairweather,
craft,
polymer clay,
Polymer Journeys
22 April 2016
'Polymer Journeys' book has just been released
The long awaited Polymer Journeys book has just been released. It is a fabulous book showcasing the best polymer art and craft, and I am so proud to be included on page 117. To order your copy, go to http://www.polymerjourneys.com/
Labels:
art,
Claire Fairweather,
craft,
polymer clay,
Polymer Journeys
14 July 2015
05 July 2015
PRESS RELEASE: Approximately 6,935 pieces
Local polymer clay artist,
Claire Fairweather, is showcasing her first large mosaic artwork at the July exhibition
at Beach Bistro. Titled ‘Watching the sunrise over Rangitoto’, this local scene
is made up of about 6,935 handmade round polymer clay tiles. The whole artwork
measures 102cm wide by 40cm high and forms the centrepiece of the exhibition.
“It turned out to be a labour of love but I am
proud of the end result,” says Claire “I had no idea how long it would take to
complete. In the end I spent over 150 hours and finished it just in time for
the exhibition. This is a view that I love and I have enjoyed every minute of
the making of this artwork”.
Claire won a ‘Best in Sculpture’
at the 2014 International Polymer Clay Awards for a three part sculpture titled
‘Spring Trio’, which was sold at a previous exhibition at Beach last year.
Since then she has been developing her own unique style of contemporary mosaic
art, making her own round mosaic tiles from polymer clay.
‘Mosaics, Jewellery &
More’ is a mixed exhibition that has been put on by five members of the
Auckland Polymer Clay Guild - Claire, Joy, Kesten, Nicky & Sue. Polymer
clay is a very versatile creative medium, which is shown in this exhibition by
the diverse range of work from the five different artists. There is jewellery,
mirrors, mosaic art and sculpture on show throughout the month of July at Beach
Bistro, 1A Beach Front Lane, Browns Bay, open from 7am – 7pm, seven days a
week.
'Watching the sunrise over Rangitoto'
![]() |
| 'Watching the sunrise over Rangitoto' 102cm x 40cm (40 x 16 inches) polymer clay dot mosaic |
Here it is, my first large 'dot mosaic' artwork. It is made up of about 6,935 tiles and took over 150 hours to complete. Each tile has been handmade, from polymer clay, and glued in place on the canvas before being grouted with coloured acrylic modelling paste.
The story behind the picture: One morning when I left home early, I saw this
beautiful sunrise over Rangitoto from the beach reserve at Browns Bay [Auckland, New Zealand]. I
immediately thought this would make a great picture, as I love this view, and I
will so miss it when we relocate. I took some photos on another day, for
reference purposes, particularly to show the outline of the vegetation that I
planned to use in the foreground of the picture. There happened to be this
couple, sat on the edge of the reserve, in one of my photos, and so I decided
to include them in this picture for added interest.
Here is another photo taken with different lighting, although the colour is not so true, it shows the textural surface of the tiles better.
Counting the tiles: I knew someone would ask me how many tiles were used to create this picture, and I was curious myself, so I spent several hours this weekend counting them. Here is my counting copy.
![]() |
| Counting the tiles |
I was only going to do it once, so I wrote on a photocopy (two A3 sheets joined together), numbering each tile as I went, just in case I lost count. The thick black lines mark blocks of 500. I am fairly sure I counted them all and, give or take a couple, there were 6,935.
01 April 2014
Subscribe to:
Posts (Atom)
.jpg)